Pre-Trip Inspection
13 Easy Steps for Your Pre-Trip Safety Inspection
At Utility Trailer Sales of Utah, our commitment to safety is a continuing effort. Performing a pre-trip inspection is essential in keeping your tractor and trailer in top condition for your own safety and for the safety of others around you. Our quick step-by-step guide that will take you through the entire pre-trip inspection process to ensure you have everything you need to feel safe and ready to hit the road.
Begin in the driver’s side and work clock-wise around your rig, checking for anything out-of-the-ordinary.
Step 1: Inspect Driver Side of Trailer
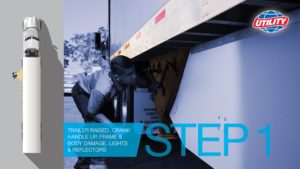
- Starting from the front of your trailer, inspect the driver side
- See if the front trailer support is fully raised and undamaged
- Verify crank handles is present and secured
- Check for missing or broken lights and reflectors
- Inspect for frame and body damage
- Check to make sure you have the proper placarding in place.

Step 2: Inspect Fifth Wheel Coupling System
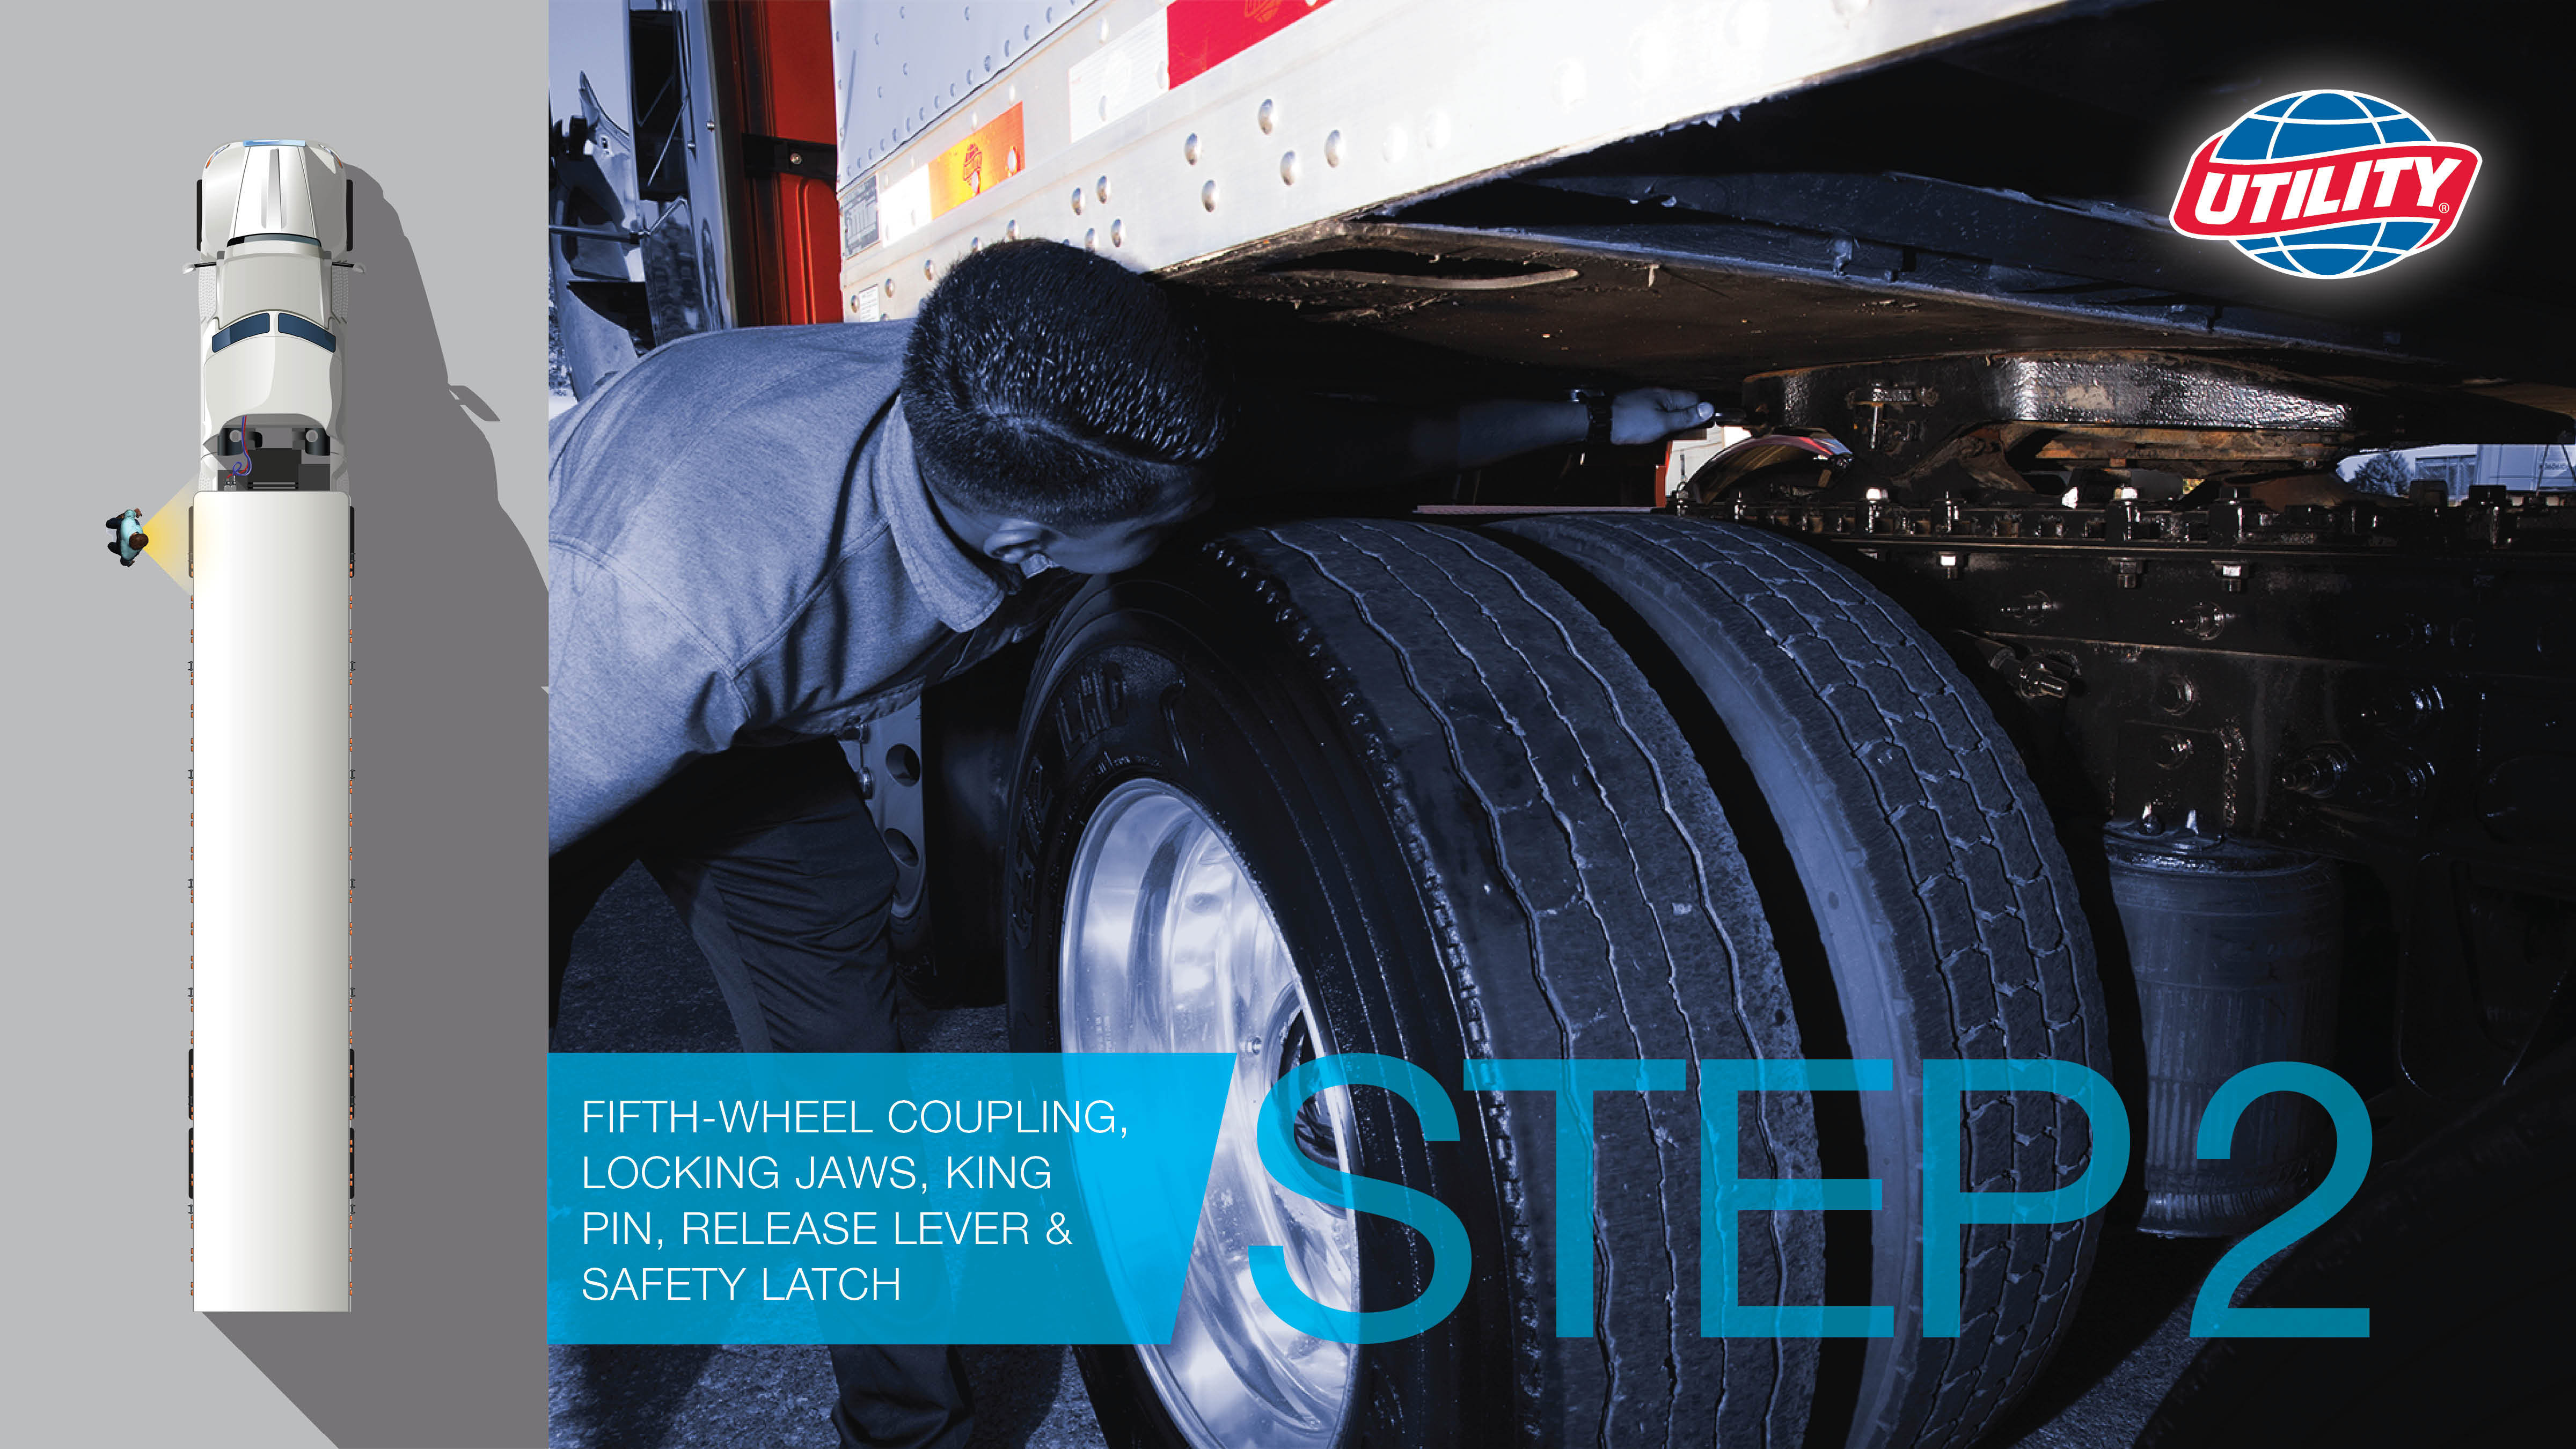
- Make sure the fifth wheel coupling system has no visible space between the upper and lower fifth wheel
- Make sure the locking jaws are around the shank and not the head of the king pin
- Then, ensure that the release lever is properly seated and the safety latch is locked and engaged
Step 3: Inspect Air & Electrical Connections

- At the area between the trailer and tractor, inspect all air and electrical connections
- Check glad hands for proper mounting
- Verify that there is no damage and no leaking
- Inspect all lights and reflectors
Step 4: Check Tractor’s Visible Parts
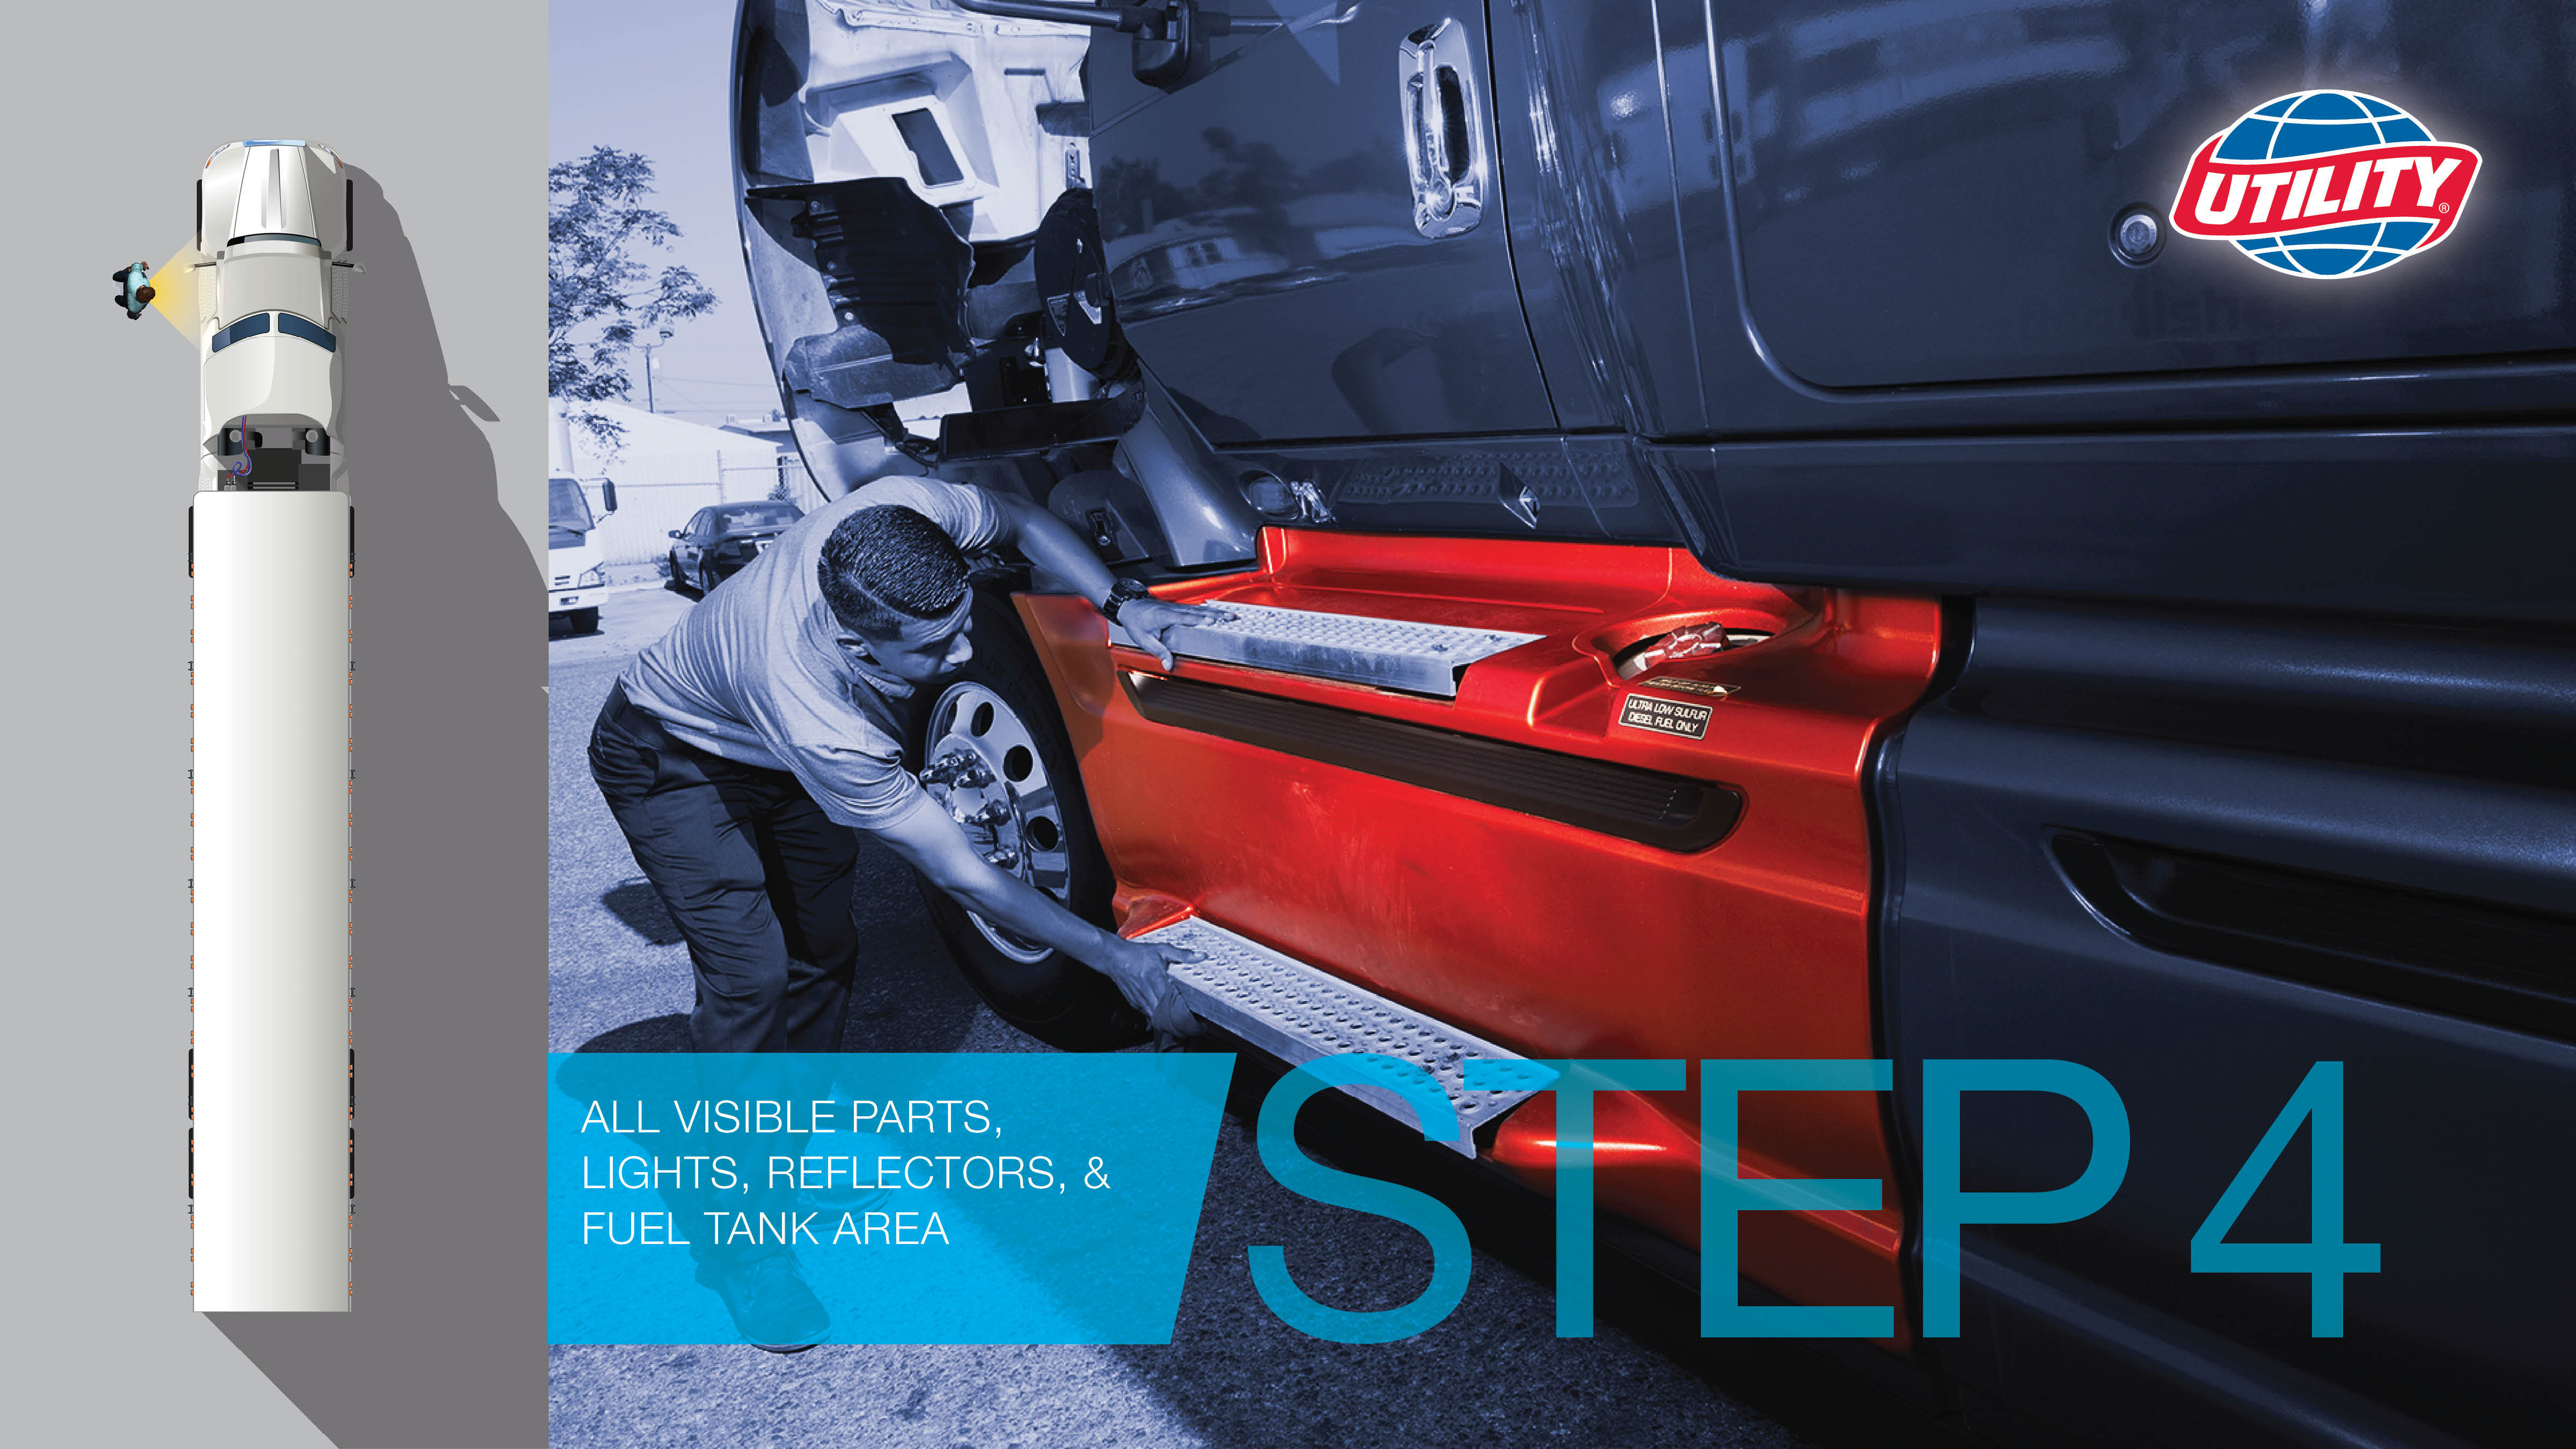
- Check the condition of all visible parts on your tractor and the driver side saddle side, fuel tank area
Step 5: Check Wheels & Tires
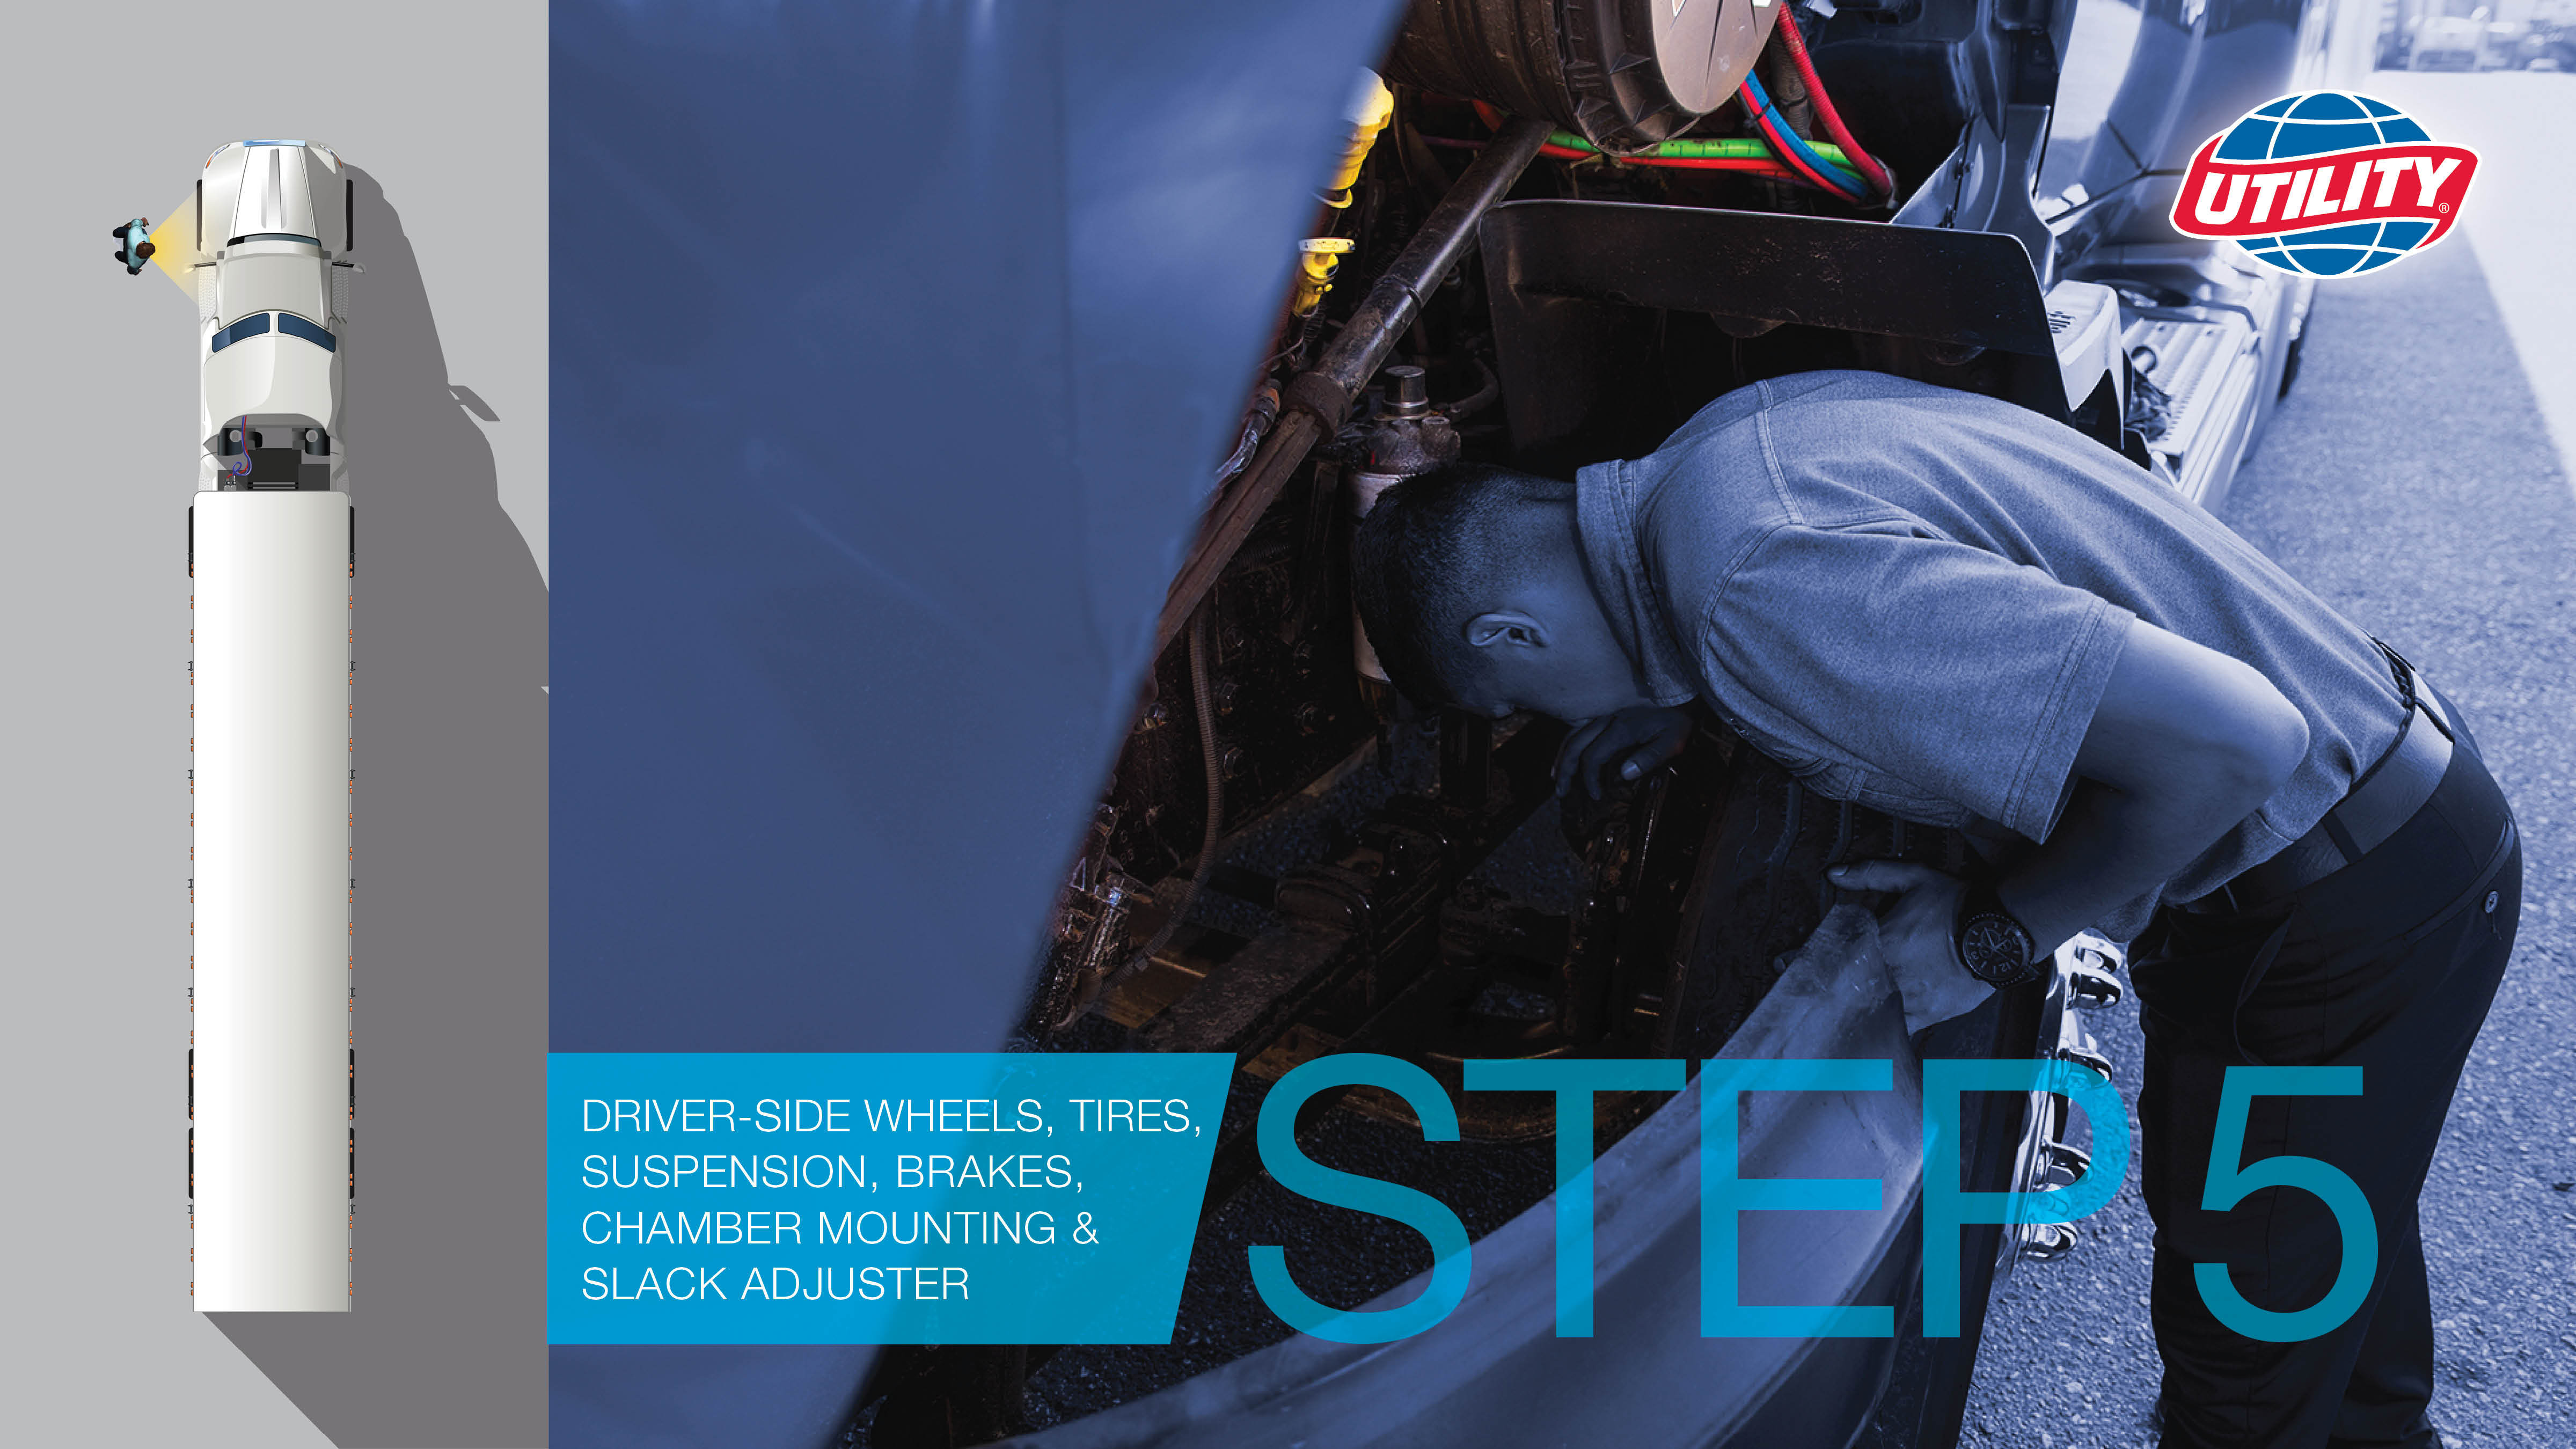
- Check the condition of your tractor’s wheels, tires, suspension, front brakes (including, brake drums, hoses, air chamber mounting and slack adjusters
Step 6: Check Front Cab
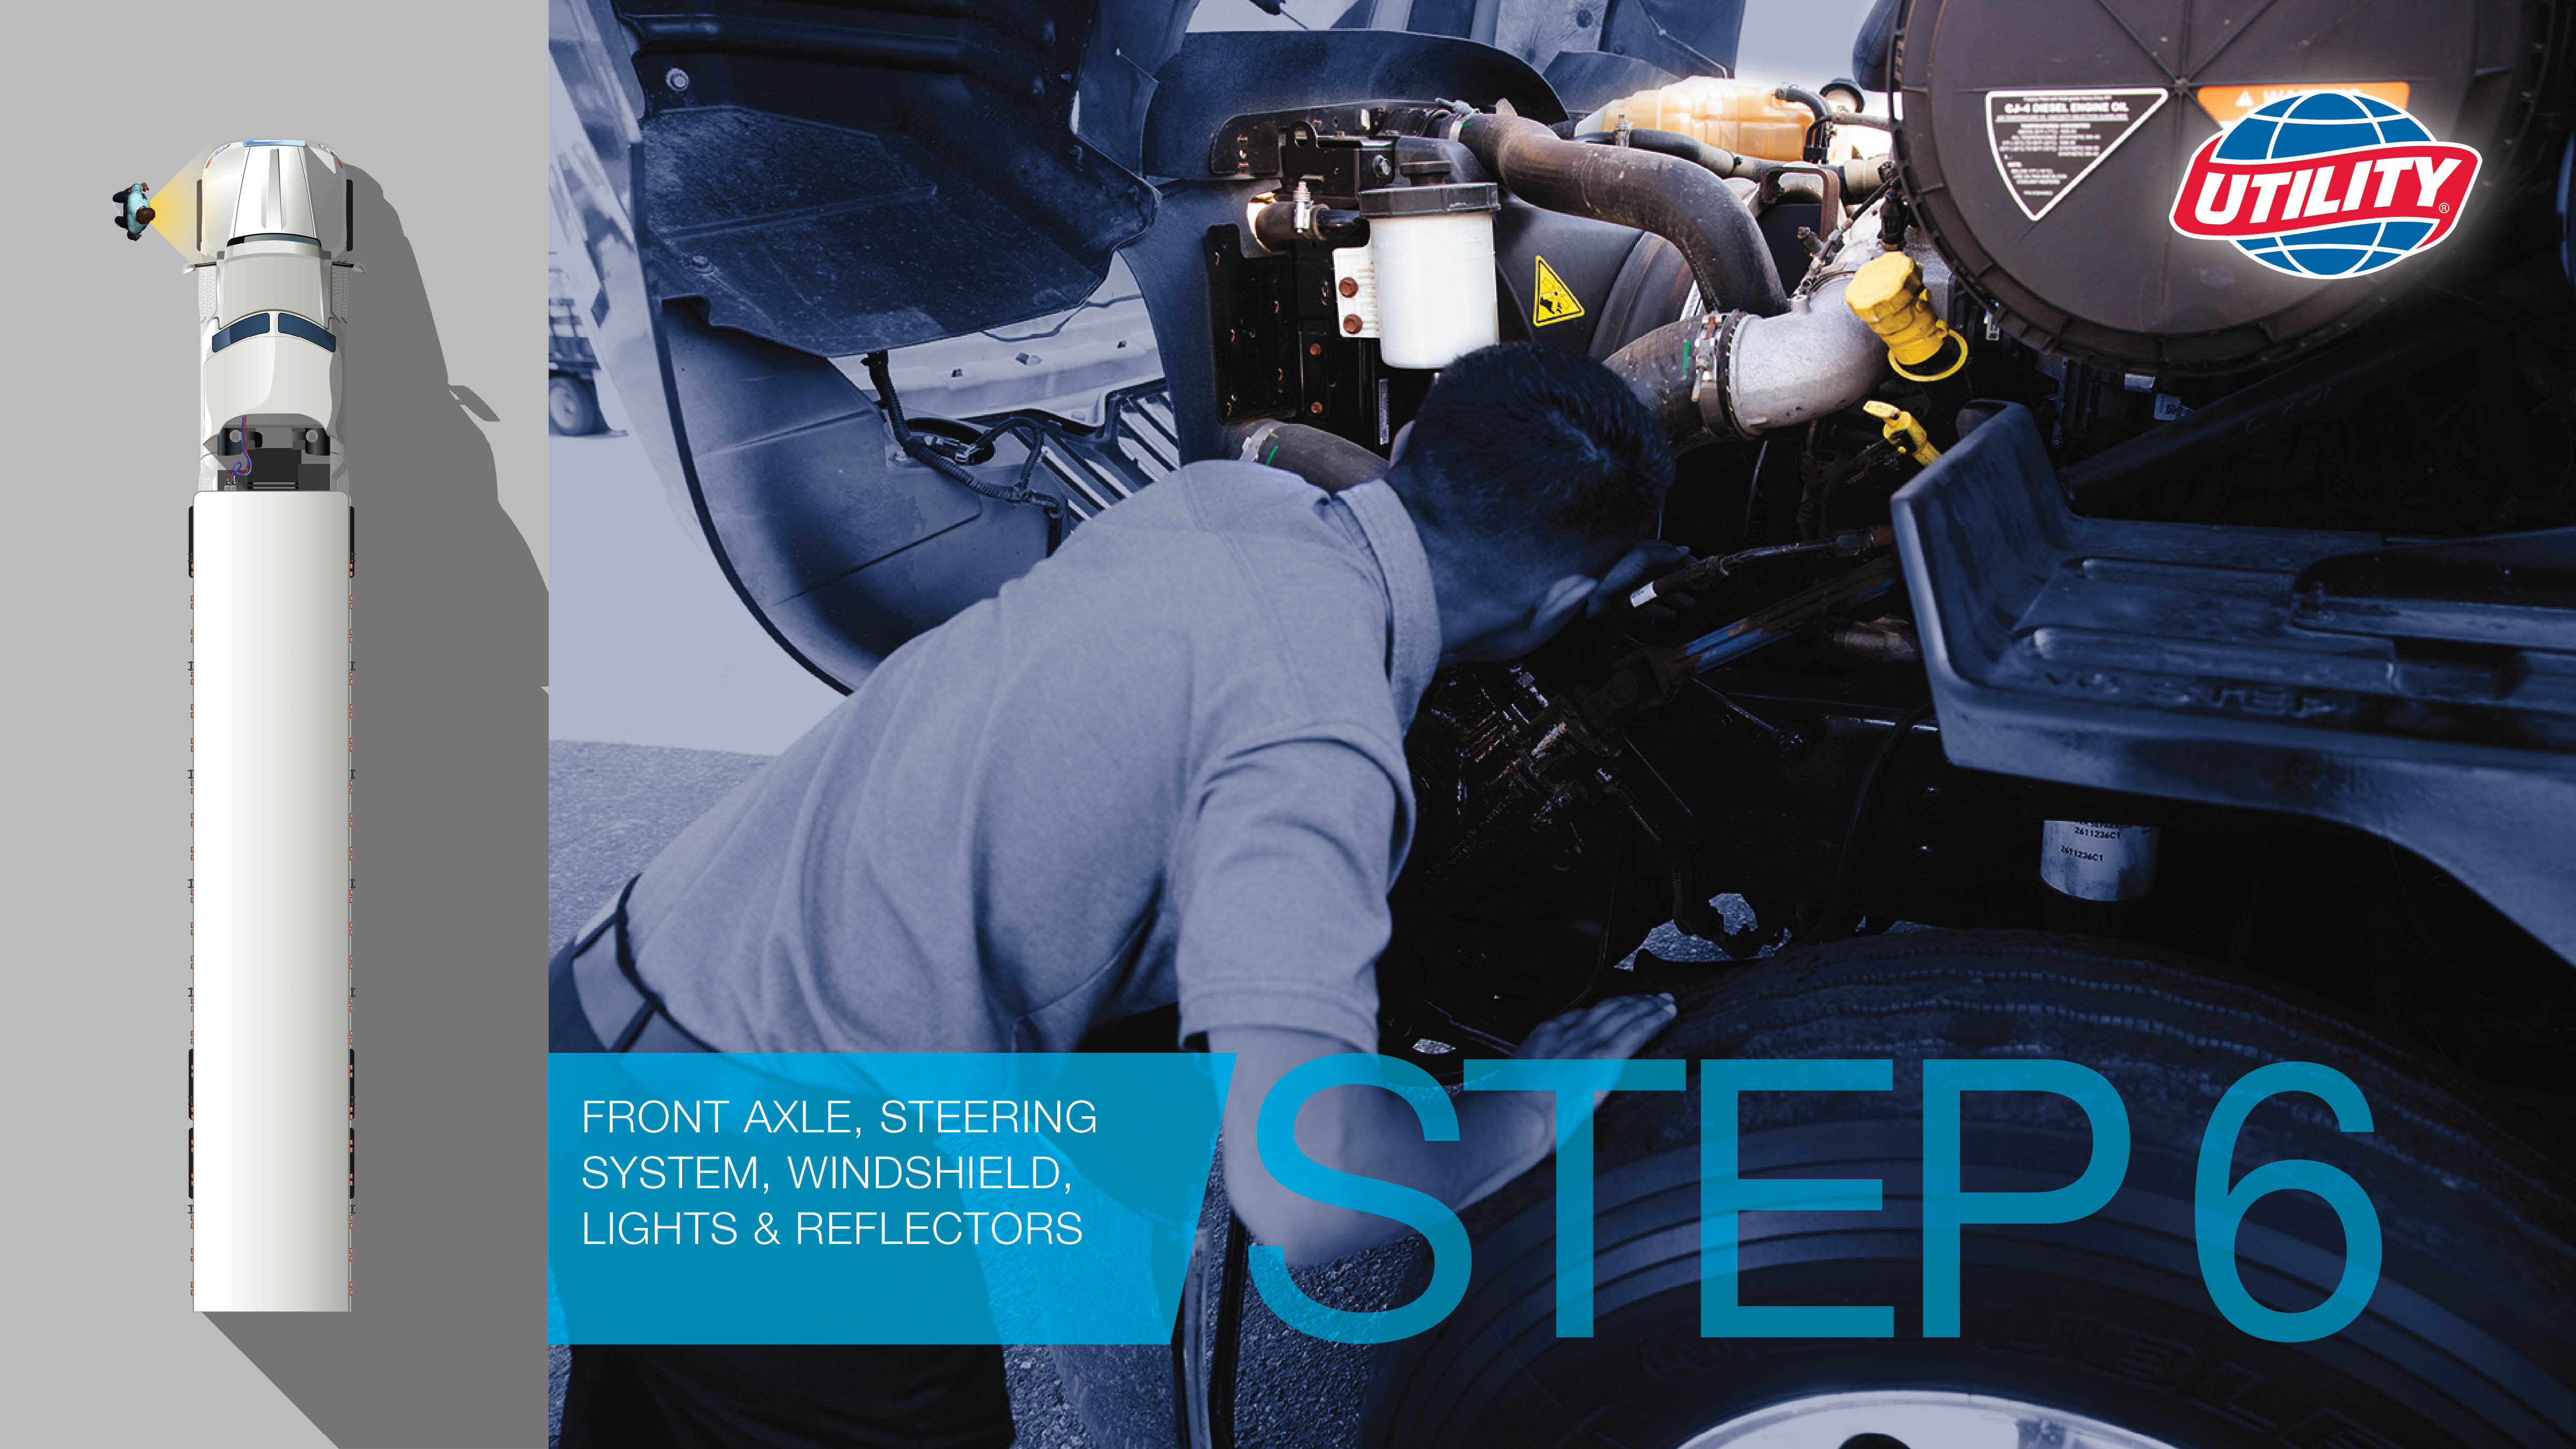
- Move to front cab
- Check the front axle, steering system, and the condition of the windshield, lights and reflectors
Step 7: Check Curbside

- Move clockwise from the driver’s side
- Repeat the same check you did on the driver’s side on the curbside
- Inspect wheels, tires, suspension, front brakes, brake drum, hoses, chamber mounting and slack adjusters
Step 8: Inspect Curb-side Saddle Tank Area
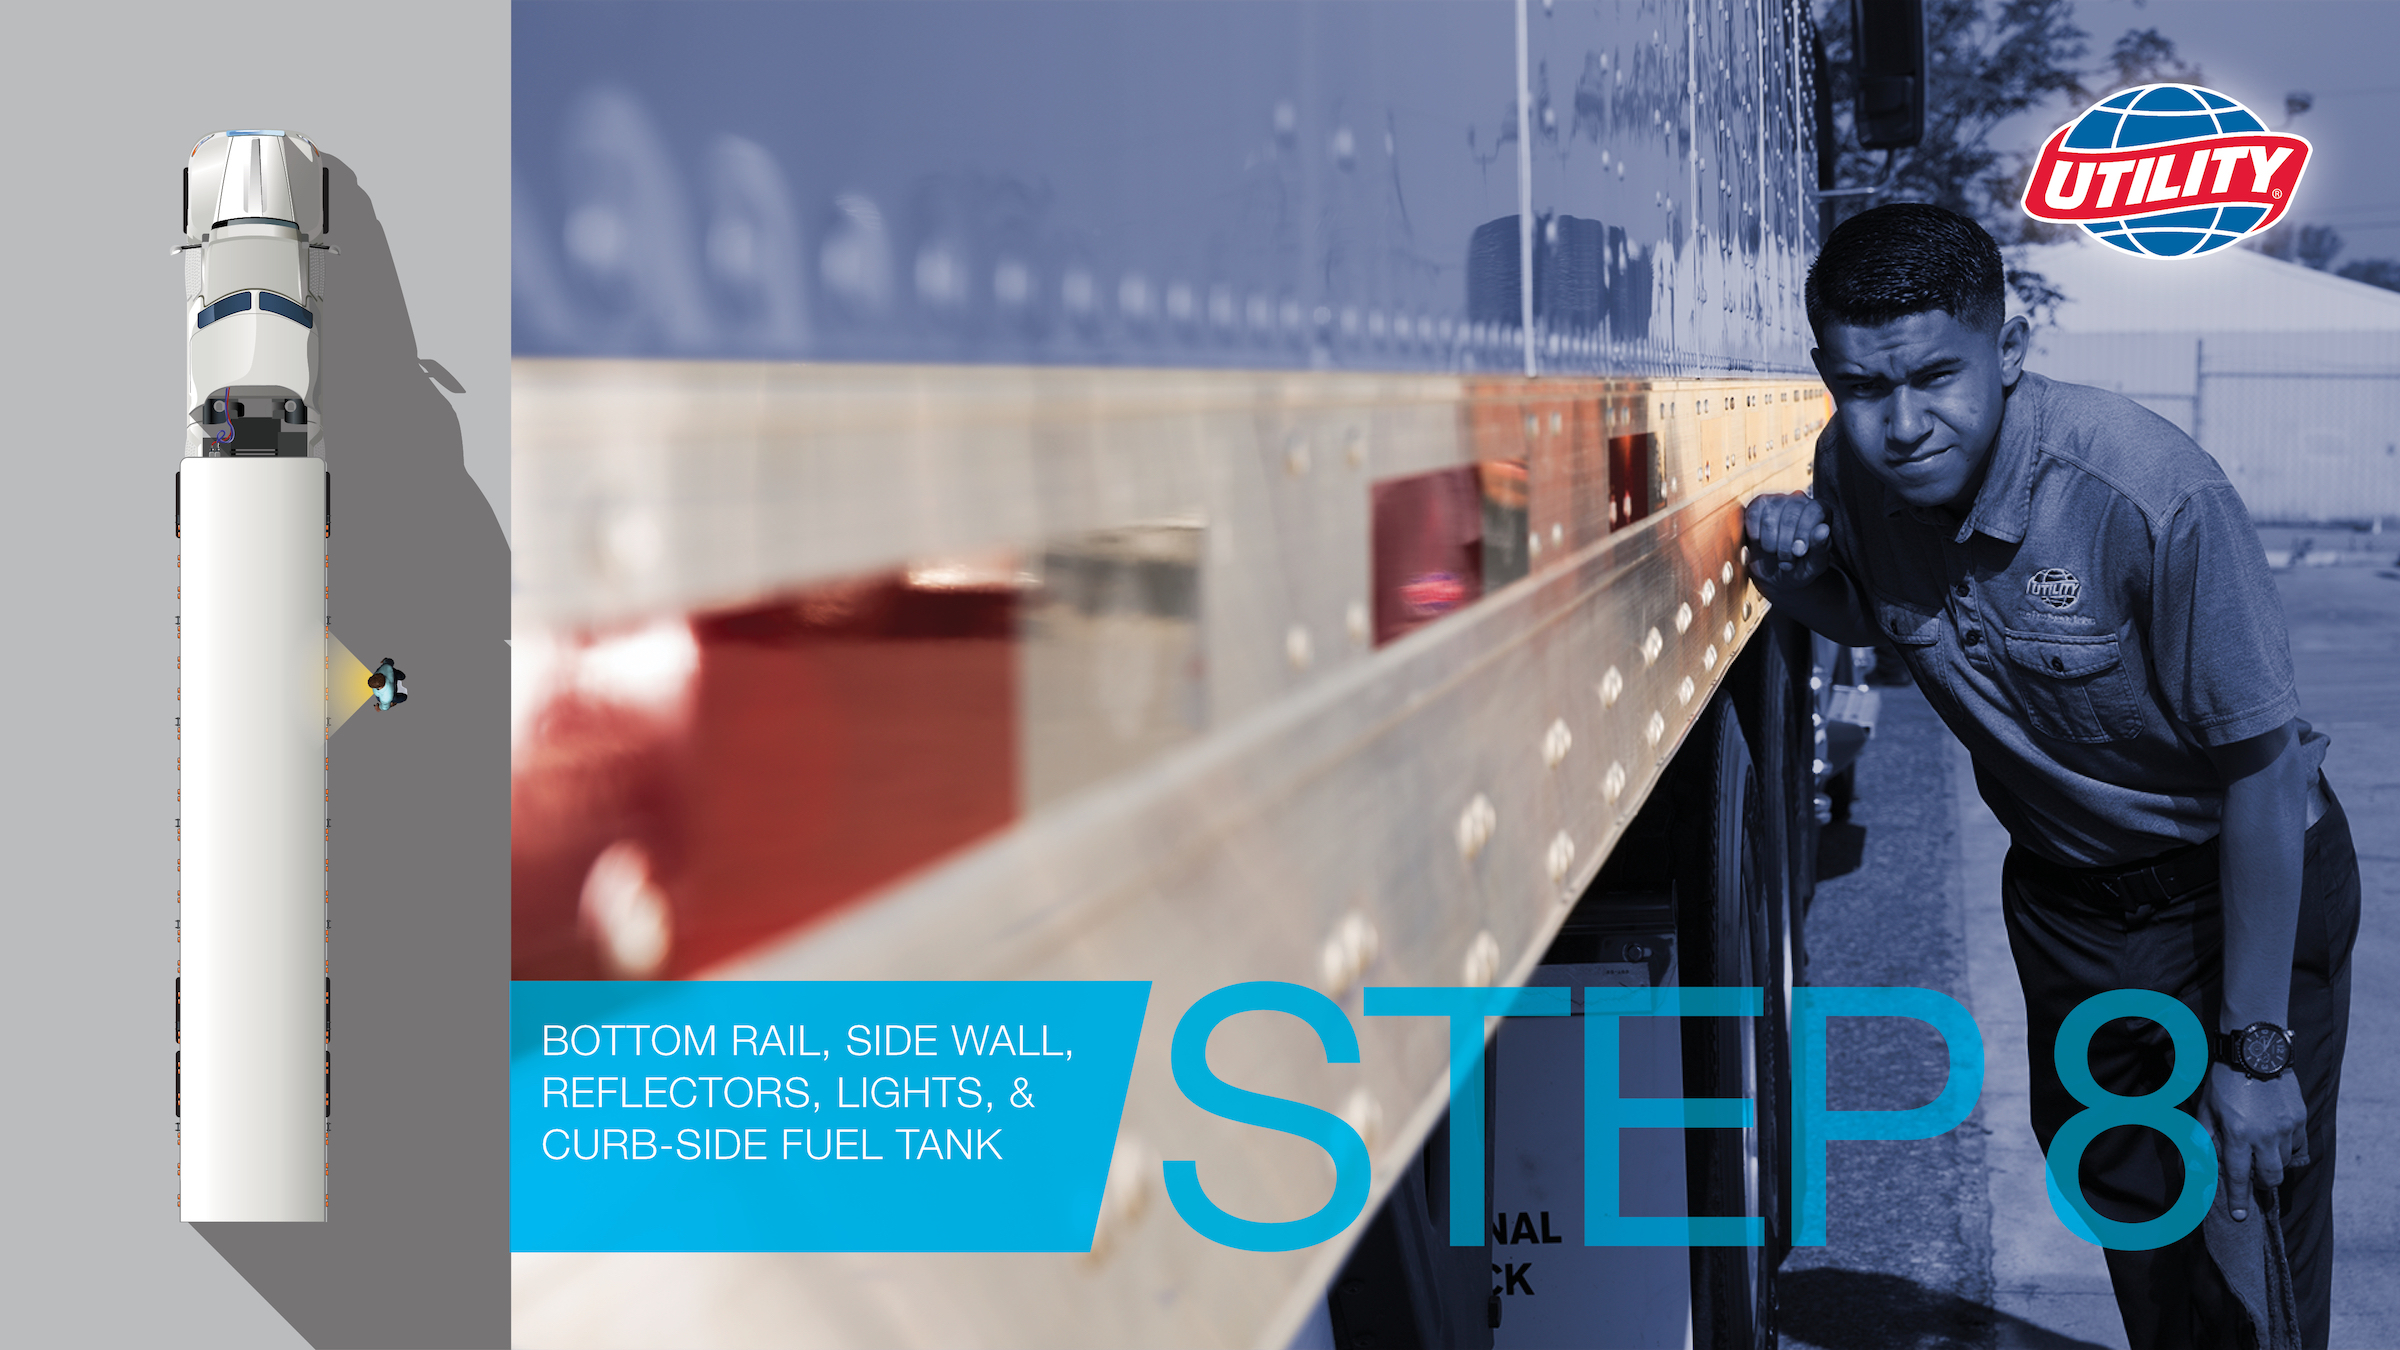
- Move to the curb-side saddle tank area
- Inspect all visible parts
- Check bottom rail, side wall, reflectors, lights and curb-side fuel tank
Step 9: Check Rear of Tractor and Trailer
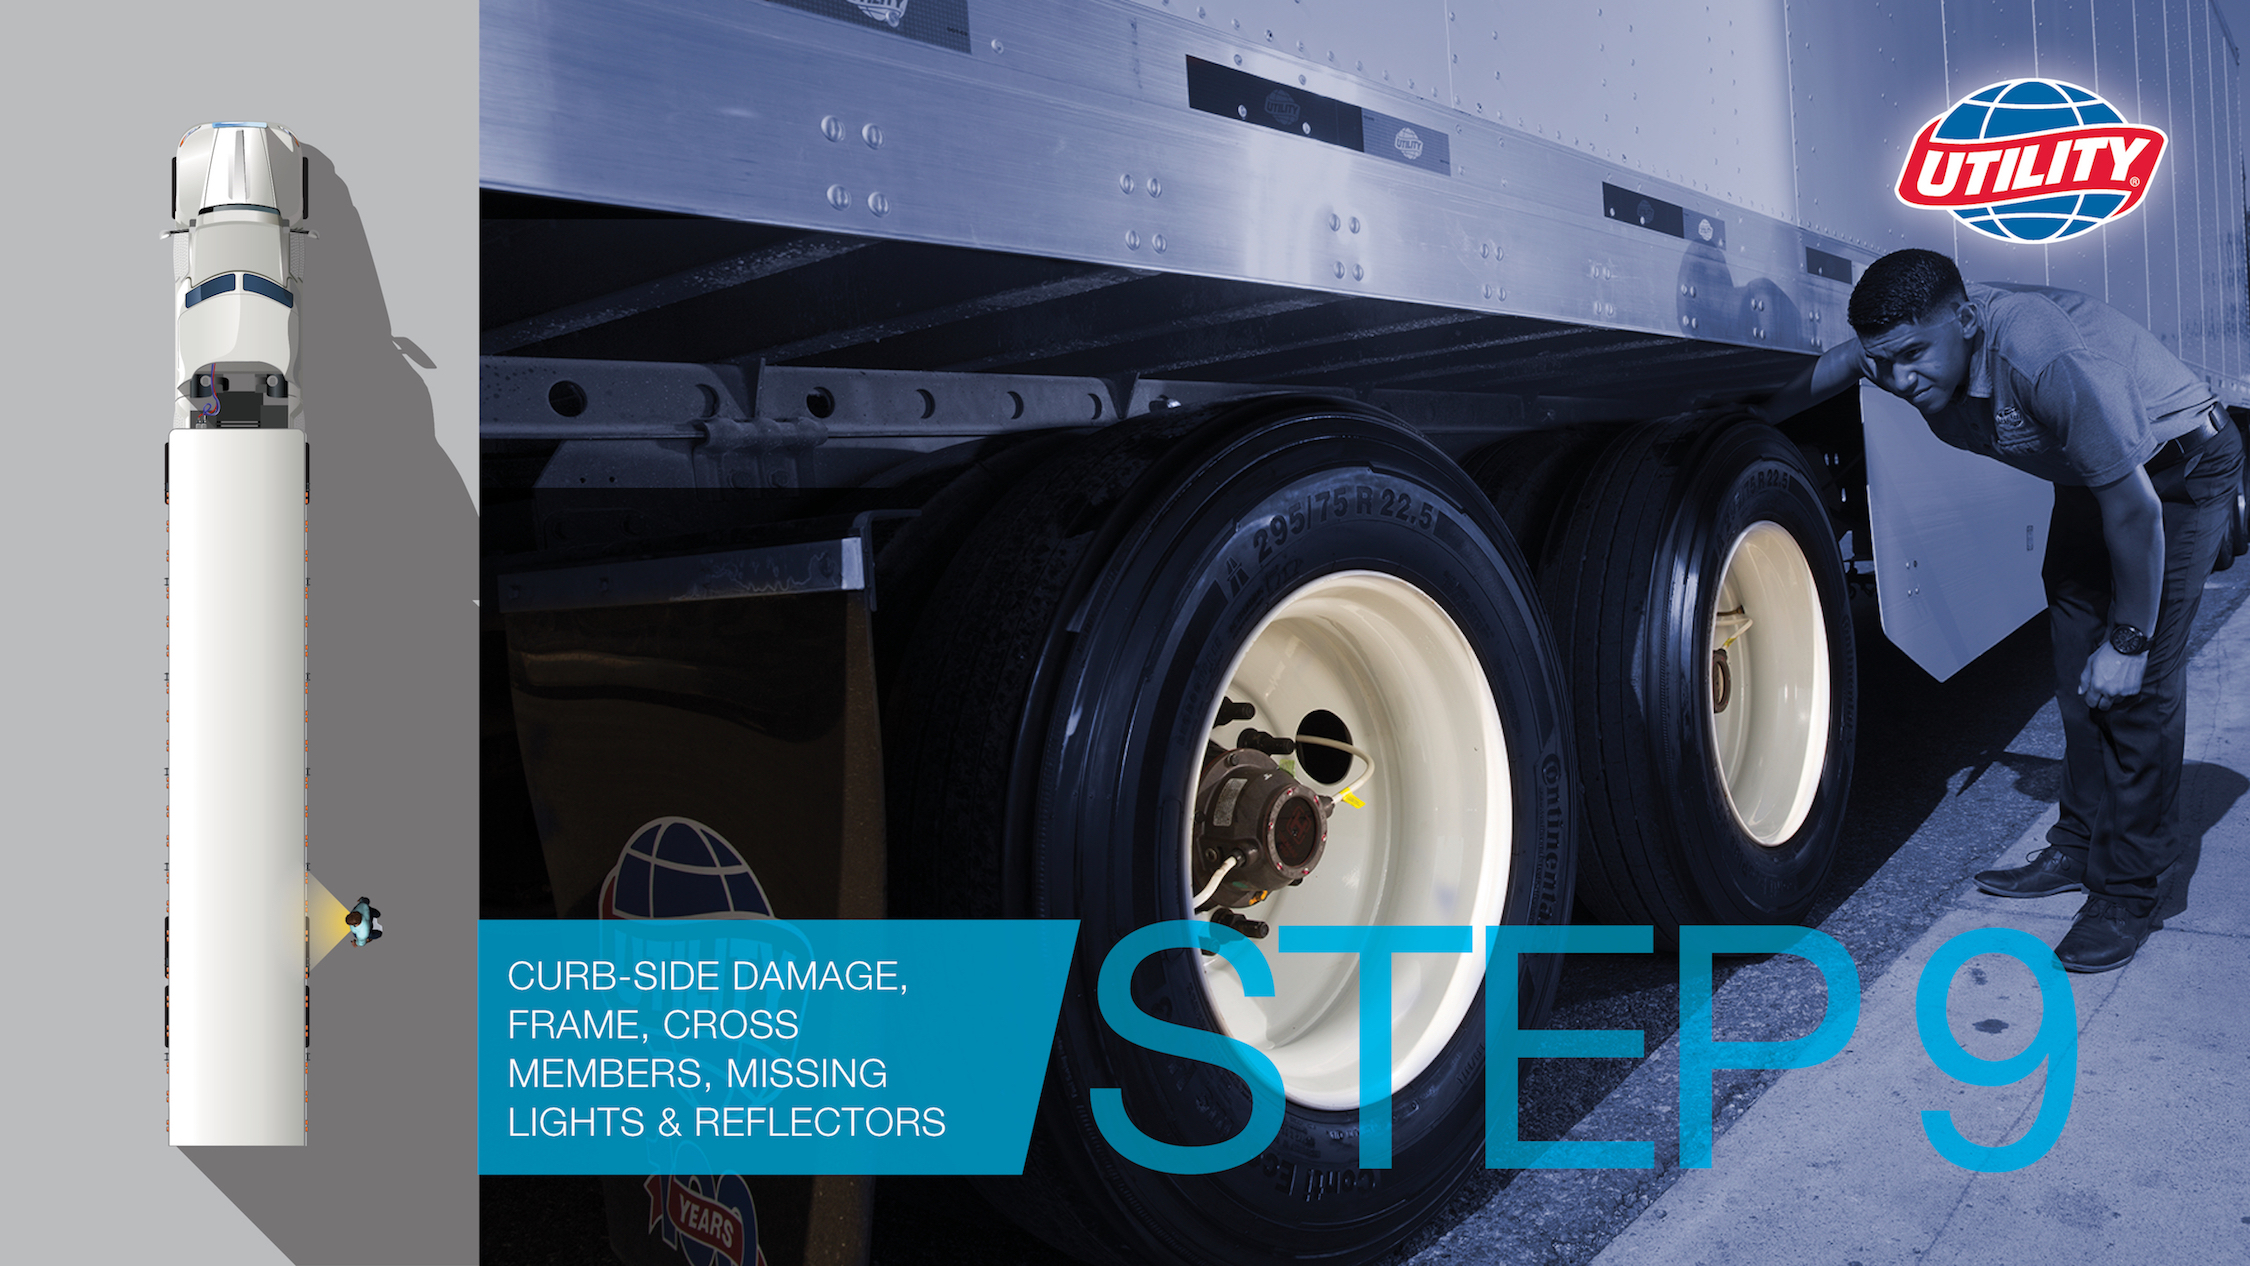
- Look for a bent or damaged frame or damage to cross members
- Check for missing lights or reflectors
Step 10: Inspect Curb-side Trailer’s Wheels
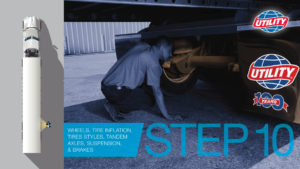
- Stop at the curb-side rear trailer wheels
- Inspect wheels and tires
- Verify the tires are the same type
- Check tandem axles, suspension and brakes

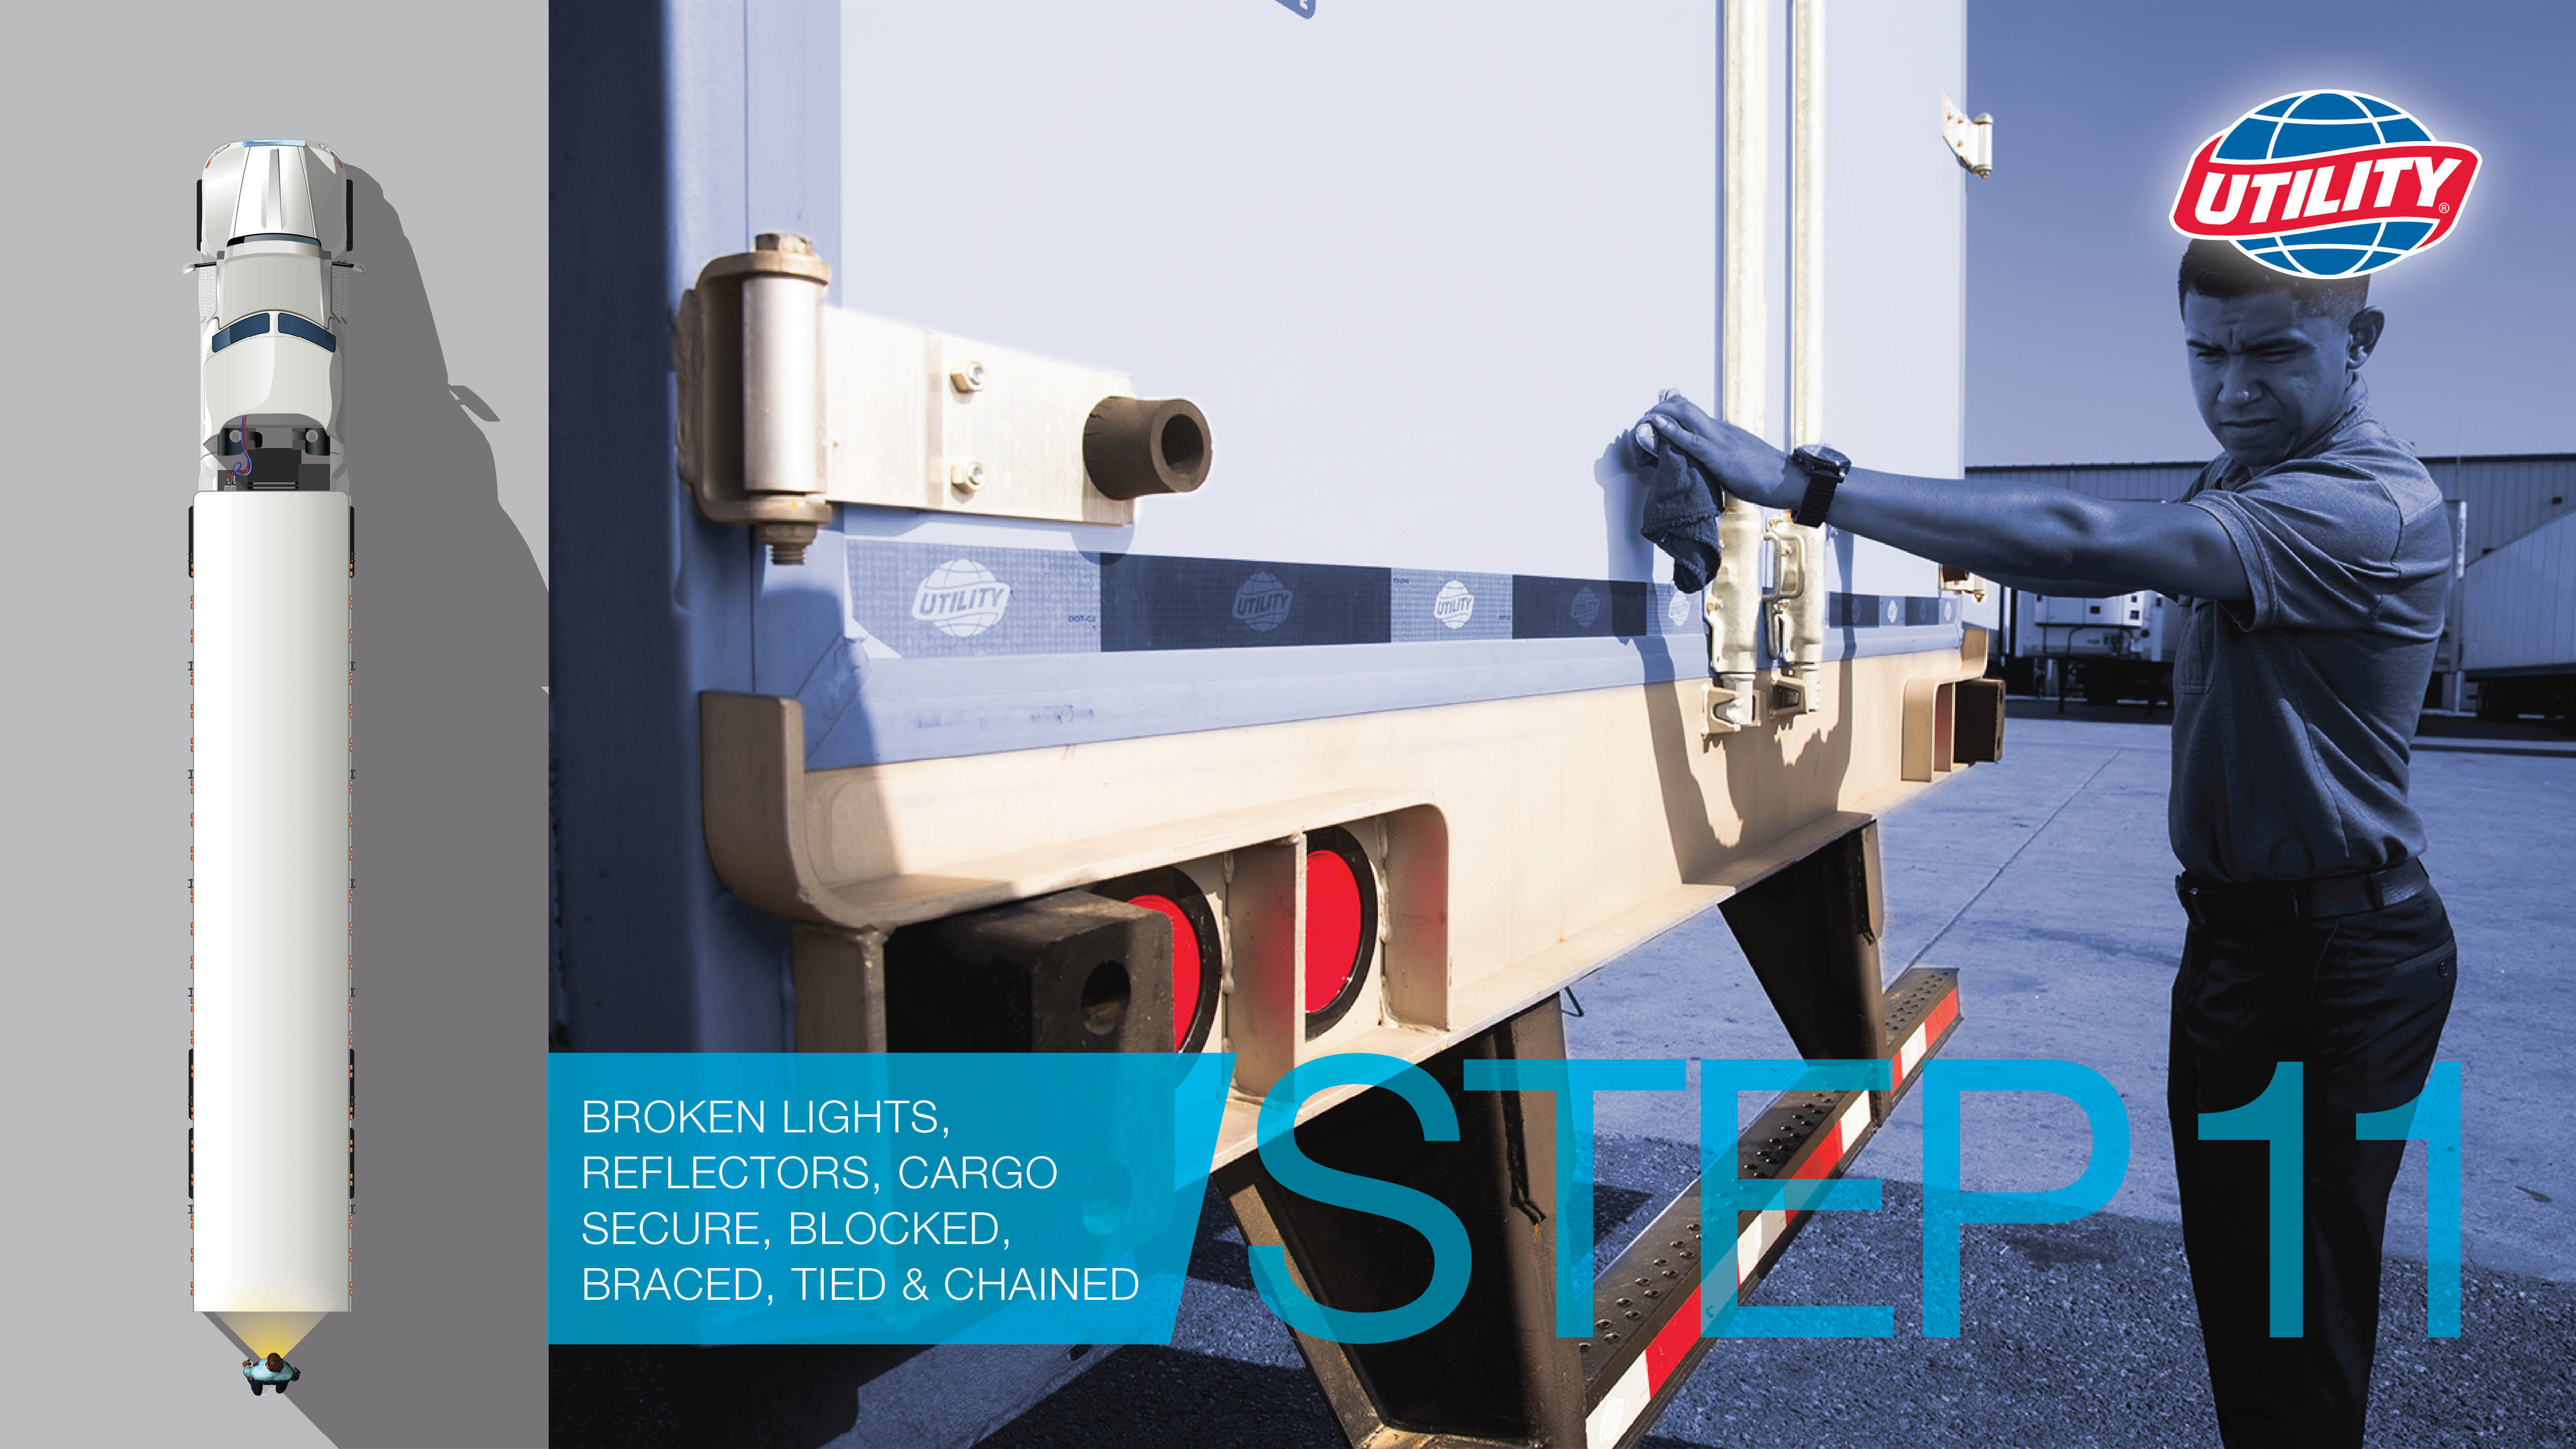
Step 11: Inspect Rear of Trailer

- Move to the rear of the trailer
- Check for broken lights and reflectors
- Verify cargo is properly secured, locked, braced, tied, chained, and/or doors locked
Step 12: Check Driver-side Trailer’s Wheels
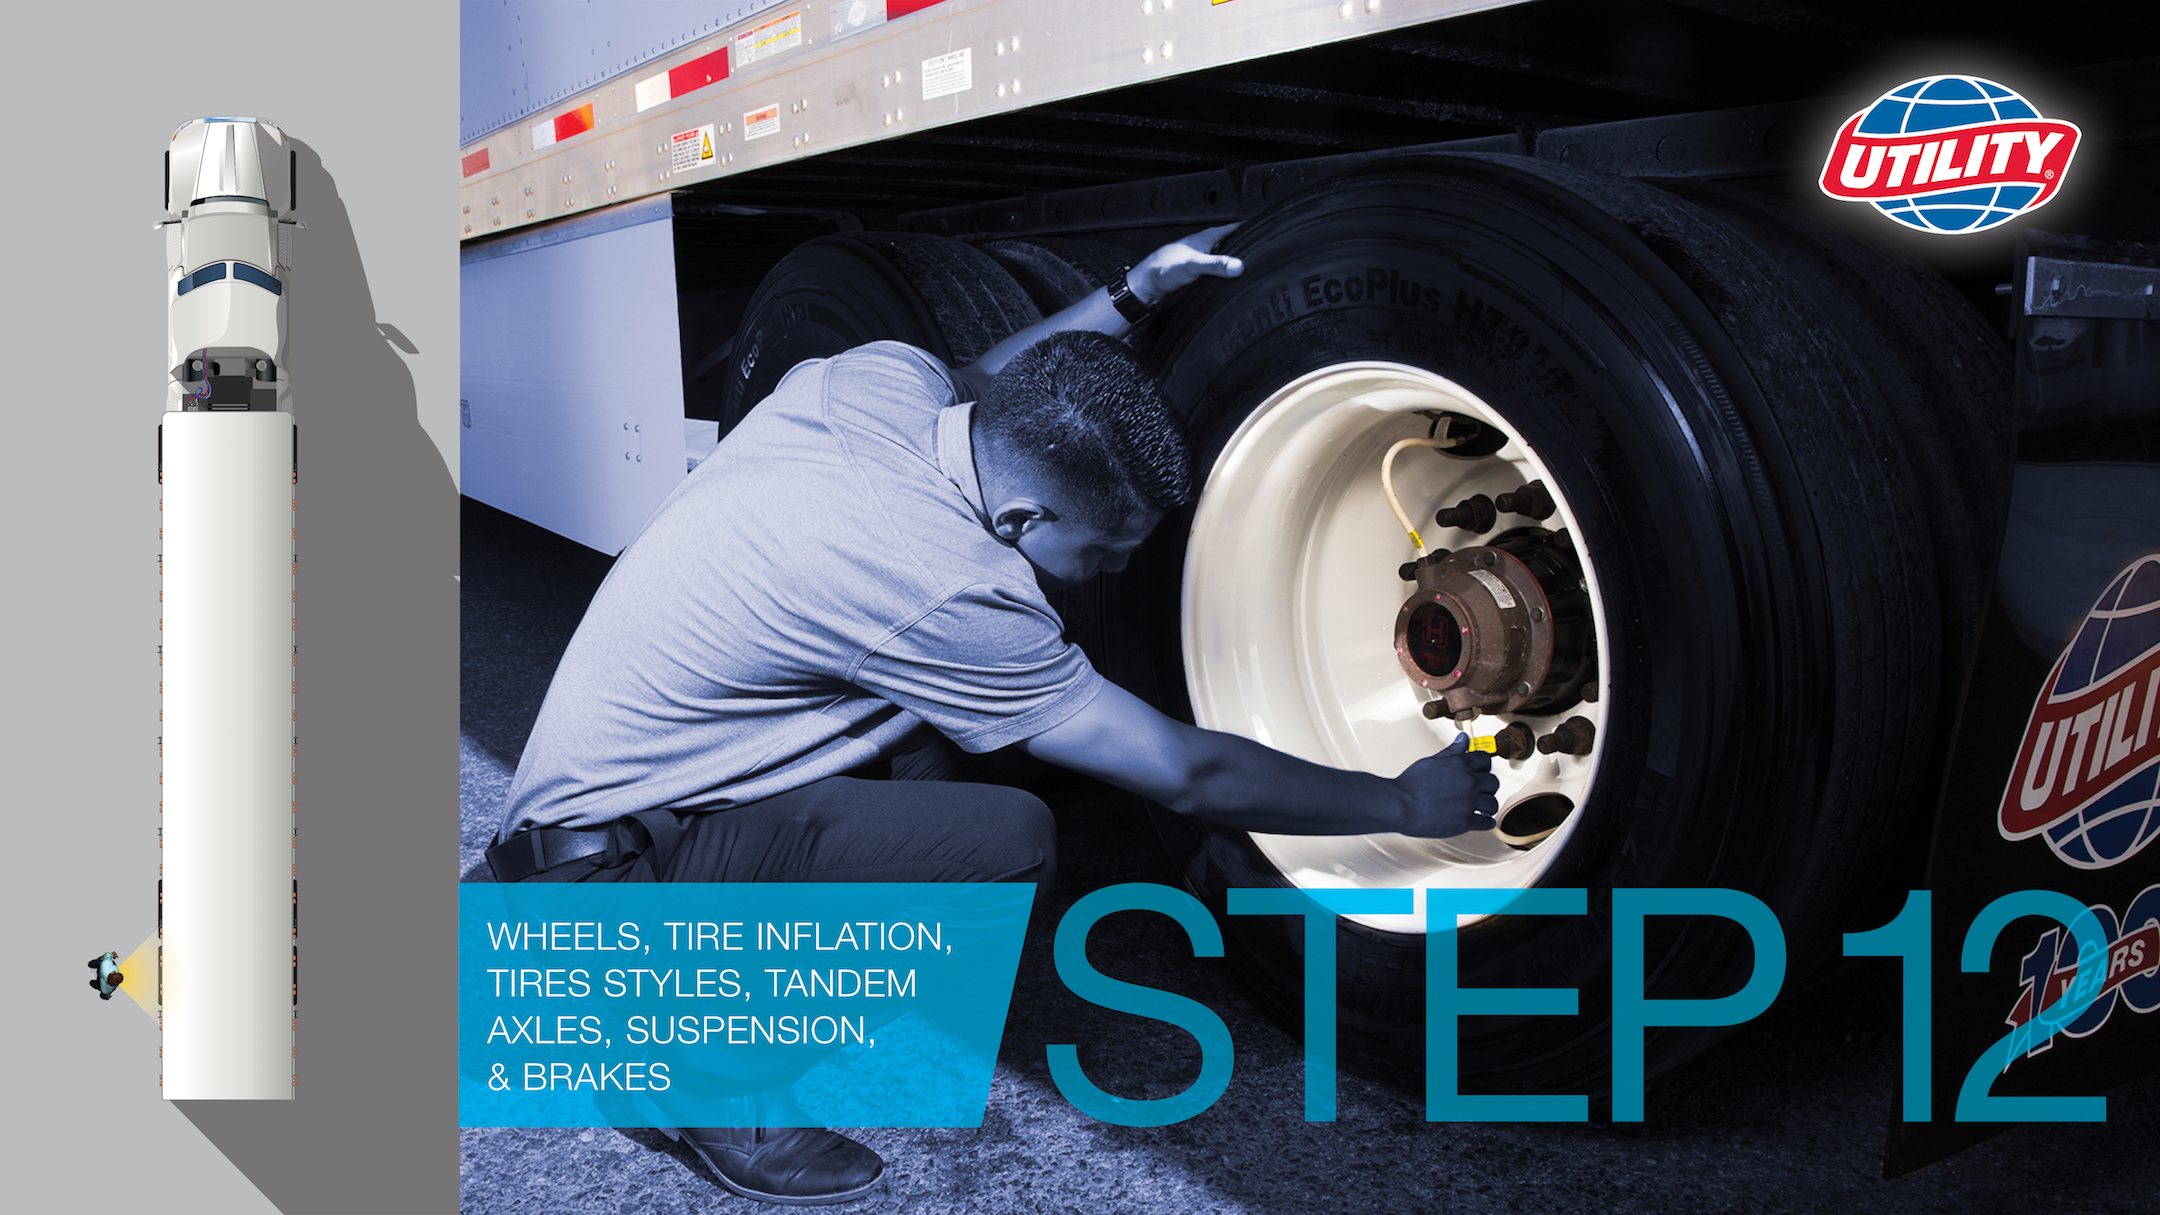
- Keep moving along the trailer to inspect the driver’s side rear wheels and tires
- Check inflation
- Verify the type of wheel are the same
- Check tandem axles, suspension, and brakes
Step 13: Finish Inspection
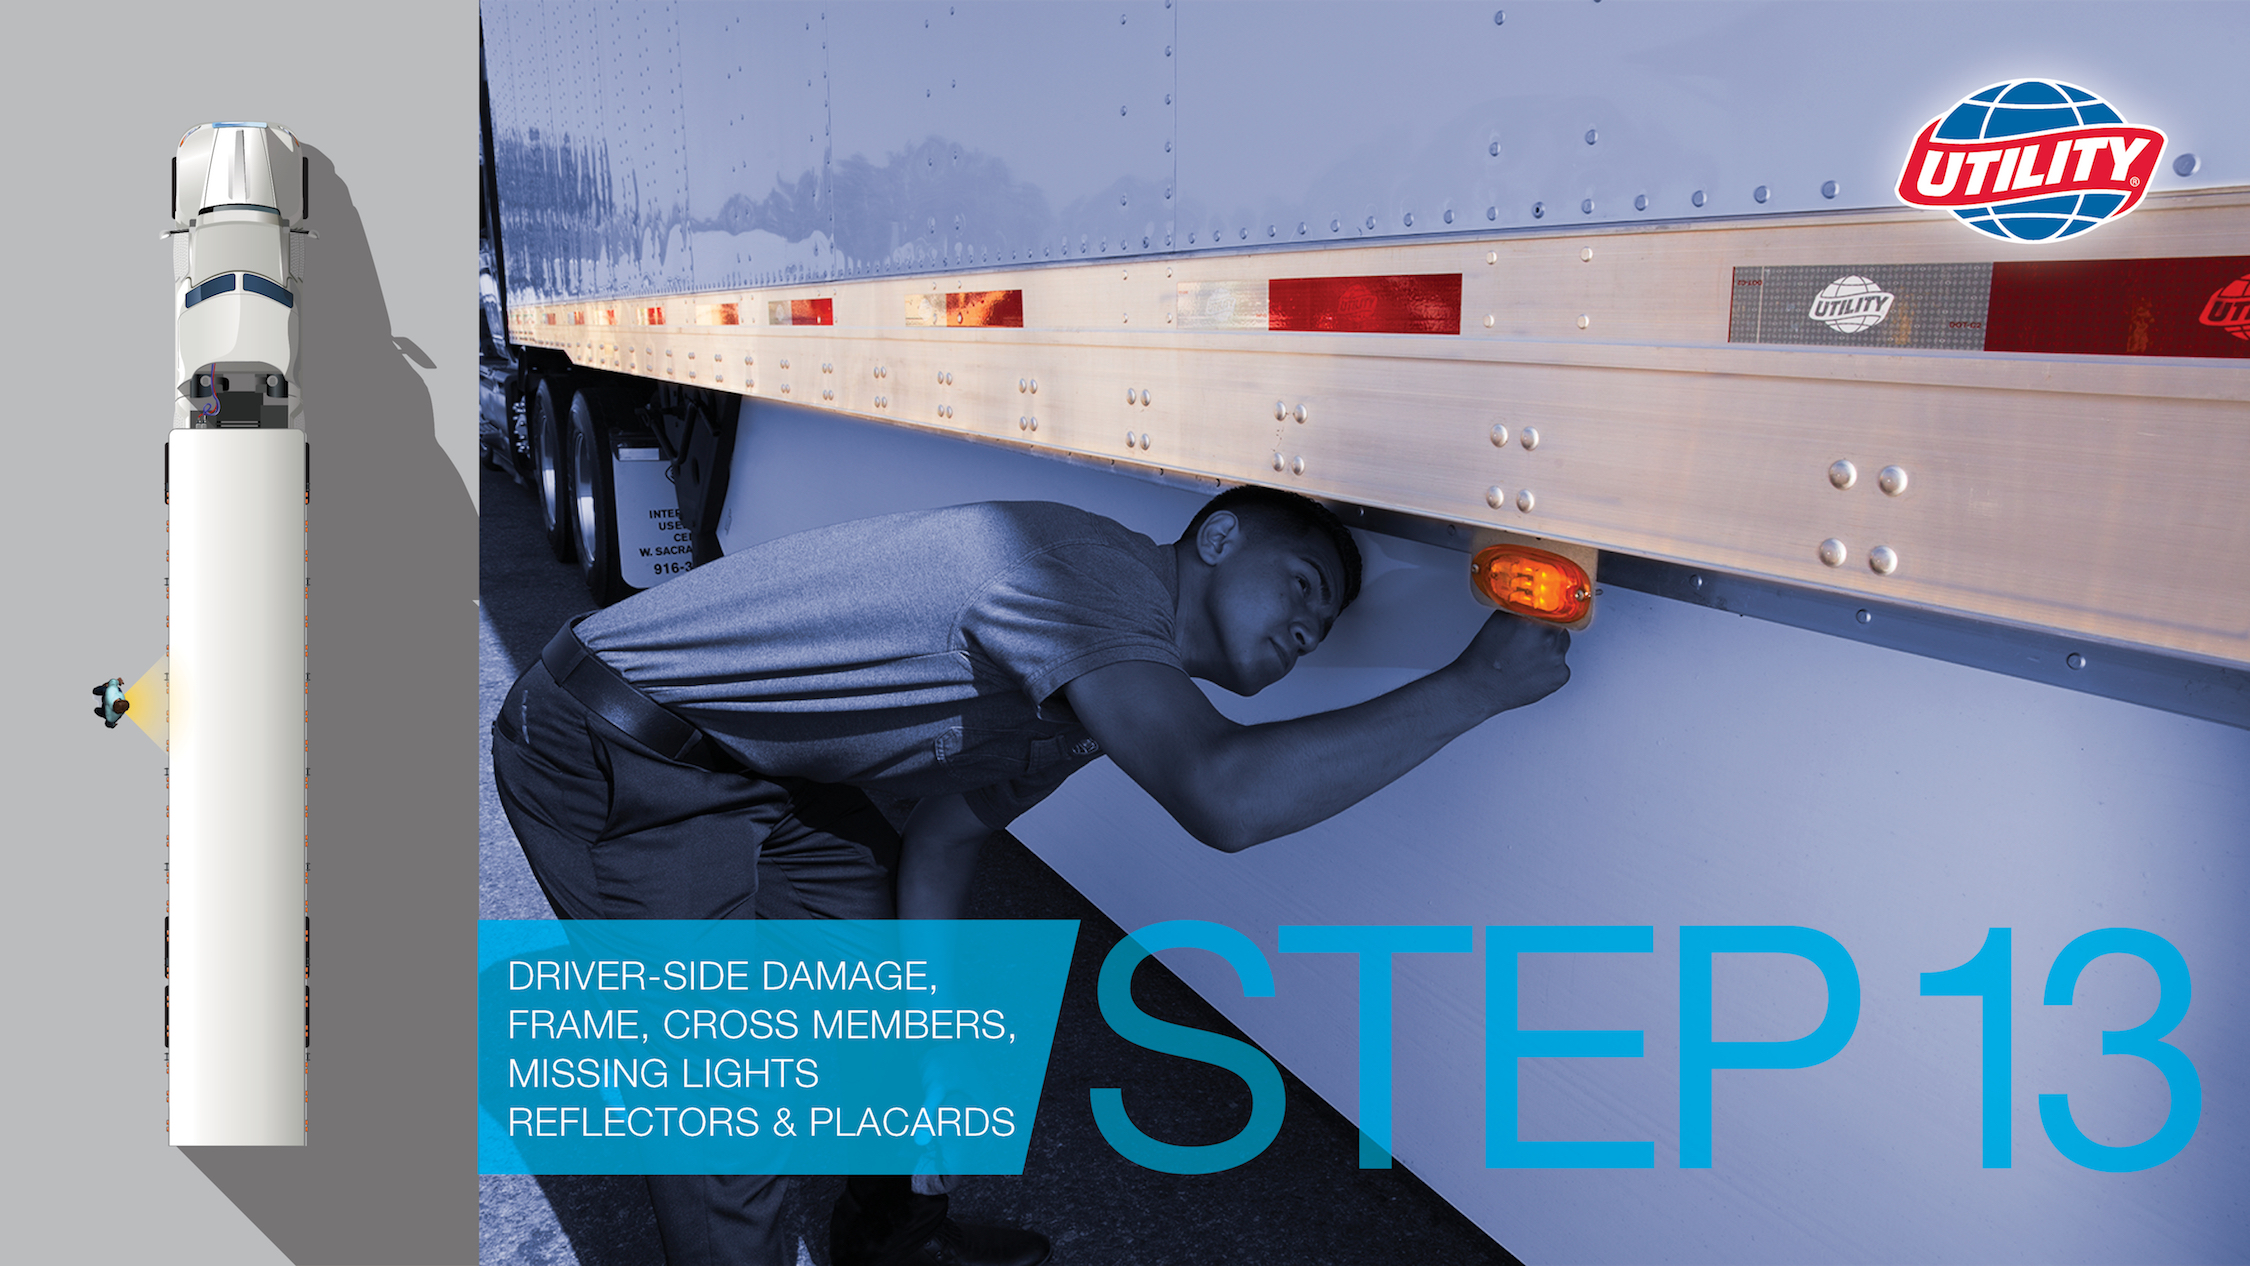
- Keep moving towards the front of the trailer
- Check for missing or broken lights and reflectors
- Look for frame and body damage
- Check for proper placarding
*Refer to your company’s safety procedures and policies for complete compliance
*If anything is broken or damaged notify your service department and/or get it fixed immediately.
Following these 13 easy steps will confirm your trip is safe and comfortable.